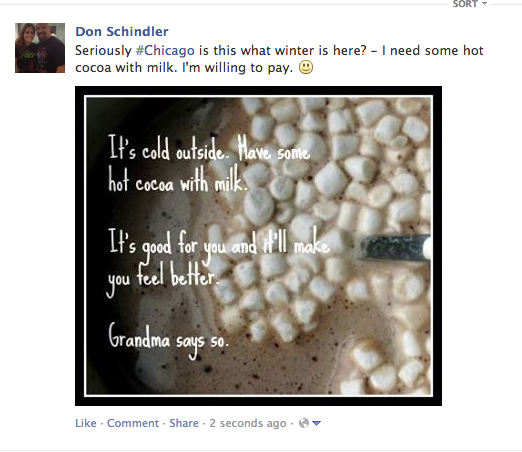
How do I edit a photo online for free? One of my favorite photo editing tools is picmonkey and here’s how you can use it to create great images and fun memes.
Or like this?
 First, there are many great tools out there for editing photos and making great memes or images.
BTW, if you don’t know what a meme is that’s ok, the definition is kinda fuzzy. It’s basically any image or phrase that takes on a life of its own where people copy the image, change the image or text and repost it. Many grumpy cat photos are memes.
BTW, half of all Facebook updates that are shared are photos. If you want to be noticed on social networking sites - use photos!!!
So how do you make your own?
I use picmonkey mainly because it’s free and easy. I also have photoshop (though, I've never been professionally trained in it, I can still get around in. I believe it's really too complicated for a beginner).
Here are other free services online if you want to use something different. These are in no particular order.
First, there are many great tools out there for editing photos and making great memes or images.
BTW, if you don’t know what a meme is that’s ok, the definition is kinda fuzzy. It’s basically any image or phrase that takes on a life of its own where people copy the image, change the image or text and repost it. Many grumpy cat photos are memes.
BTW, half of all Facebook updates that are shared are photos. If you want to be noticed on social networking sites - use photos!!!
So how do you make your own?
I use picmonkey mainly because it’s free and easy. I also have photoshop (though, I've never been professionally trained in it, I can still get around in. I believe it's really too complicated for a beginner).
Here are other free services online if you want to use something different. These are in no particular order.
- pixlr
- fotoflexer
- befunky
- ipiccy
- lunapic
- many, many more...
1. Get your photo
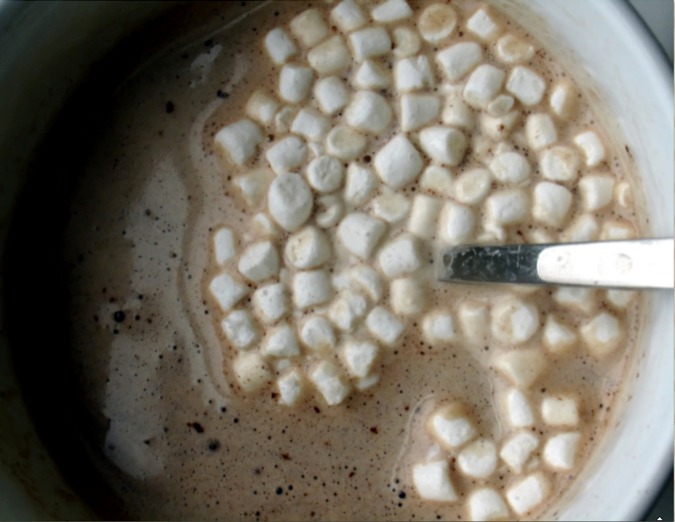 I used a simple hot cocoa photo from the free stock photo website - stock.xchng.
I downloaded it to my desktop and named it appropriately.
I used a simple hot cocoa photo from the free stock photo website - stock.xchng.
I downloaded it to my desktop and named it appropriately.
TIP - Name your photos for what they are. So instead of img102872.jpg change it to hot-chocolate-milk.jpg. Why? Because Google can't see the photo but it can read what you called and associate those words as keywords for its image search. TIP - do NOT take photos from Google Search or any other search engine. Or even photos on Facebook (unless they are yours) or any website. They are automatically copyrighted to that person or company that put them on the web. If you need photos, take your own or get them off free photo sites that allow you to manipulate the photo or buy them.
2. Upload your photo
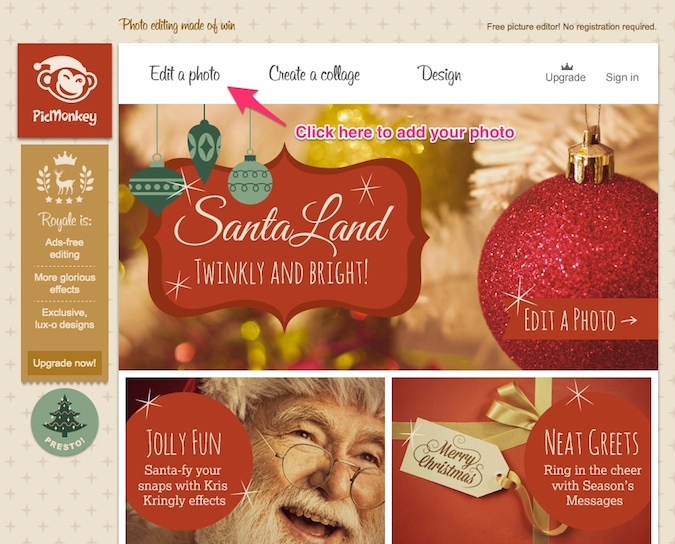 You don’t need to register or anything. That’s pretty cool in itself. I'm so tired of filling out registration forms.
3. Here’s what the editor looks like.
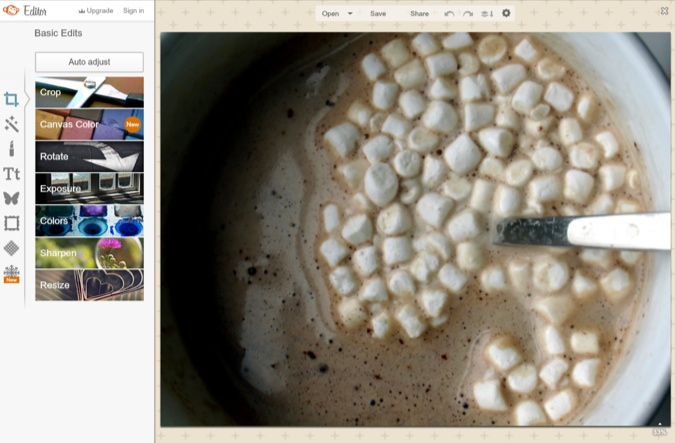 Let's take a look around very quickly. The top navigation contains:
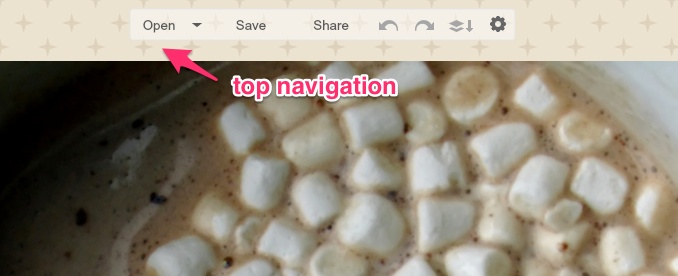 Open - with a drop down of your computer, dropbox, Facebook or flickr (photo storage website)
Save - when you are done and ready to roll.
Share - you can share with Facebook, Twitter, Pinterest, Flickr, Tumblr, and Email (you’ll need to connect your networks if you want this feature)
Undo and do arrows - if you screw up and want to go back or forward with the step you just did.
Add a layer - for royale (paid) users
Settings - for your image settings - Bubbles is usually recommended and should work for most of your needs
Open - with a drop down of your computer, dropbox, Facebook or flickr (photo storage website)
Save - when you are done and ready to roll.
Share - you can share with Facebook, Twitter, Pinterest, Flickr, Tumblr, and Email (you’ll need to connect your networks if you want this feature)
Undo and do arrows - if you screw up and want to go back or forward with the step you just did.
Add a layer - for royale (paid) users
Settings - for your image settings - Bubbles is usually recommended and should work for most of your needs
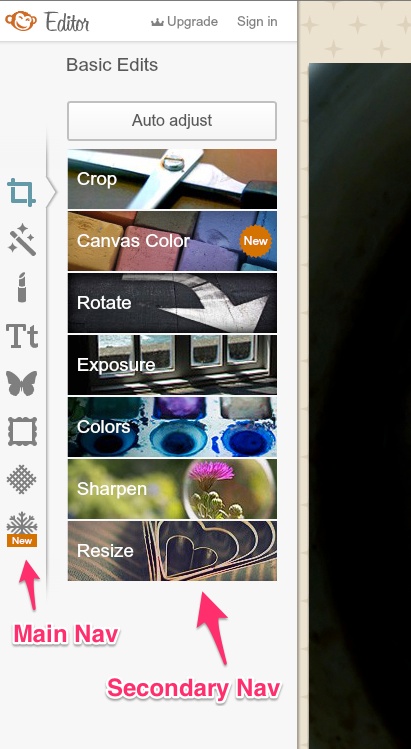 The left hand navigation is divided into two parts. The primary navigation is the icons, the secondary navigation will change depending on your primary navigation selection.
The left hand navigation is:
Home (looks like Crop) - basic edits which allows you to Crop, change Canvas Color, Rotate, Exposure, Colors, Sharpen and Resize.
Effects - these are different effects you can apply to the photo
The left hand navigation is divided into two parts. The primary navigation is the icons, the secondary navigation will change depending on your primary navigation selection.
The left hand navigation is:
Home (looks like Crop) - basic edits which allows you to Crop, change Canvas Color, Rotate, Exposure, Colors, Sharpen and Resize.
Effects - these are different effects you can apply to the photo
TIP - if the effect has a crown on it, you must login and upgrade (pay) to use it.Touch-up - lots of upgrades here except for some basic fixes like blemish fix. Text - pic monkey has a great amount of cool fonts without paying. Probably one of their best features. Overlays - these are images you can put on your photos. Cute hearts and stars. Things like that. Frames - Put a nice frame on the photo or just round out the edges. Personally I like the old Polaroid look. Textures - Put a texture over your photo. Themes - you can add a bunch of different features based around the theme. Definitely something I should check out more. So that’s the editor. Pretty simple. Now let’s go through the steps of putting up an image on Facebook that I used pic monkey to manipulate.
2. Change the size
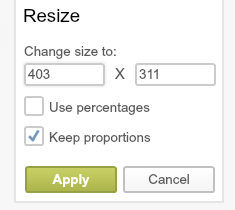 My original photo was huge (both in size and in mega bytes so I wanted to change that. I dropped it to the standard Facebook wall size of 403 pixels wide. Now this automatically changes the proportions, which is fine and I want to keep those proportions so I don’t distort the image.
If I wanted the 403 pixels by 403 pixels (standard size for Facebook) I would resize and then crop - never uncheck the Keep proportions, it will stretch your photo and make it look not so good.
My original photo was huge (both in size and in mega bytes so I wanted to change that. I dropped it to the standard Facebook wall size of 403 pixels wide. Now this automatically changes the proportions, which is fine and I want to keep those proportions so I don’t distort the image.
If I wanted the 403 pixels by 403 pixels (standard size for Facebook) I would resize and then crop - never uncheck the Keep proportions, it will stretch your photo and make it look not so good.
3. Crop the photo
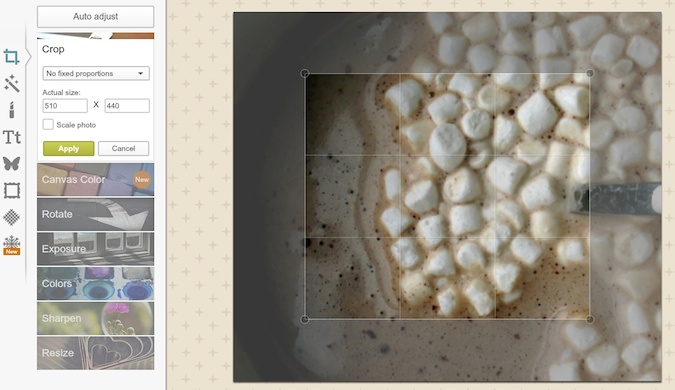 Instead of sizing down and then cropping, I decided to undo the change and go to cropping instead. I cropped down the photo the portion of the image I liked best.
4. Add text
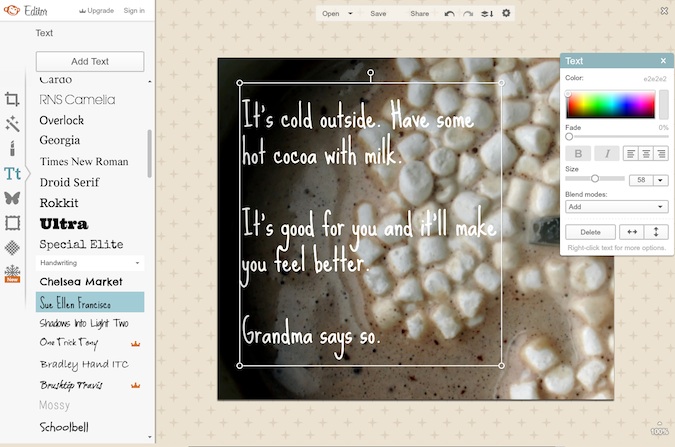 Then I added some text and picked a grandma looking font to go with my grandma saying.
TIP - If you want to add text to an image, keep it like a billboard with very short sentences. Get your point across in the fewest words possible so people can just glance at it and learn what you have to say. TIP - Add your website or Facebook page to the photo like dairycarrie.com does or facebook.com/DairyMom
5. Add a frame
 You don’t have to add a frame but sometimes it’s nice to have. It shows people you thought about the photo a bit - remember anything to draw the eye is a good thing.
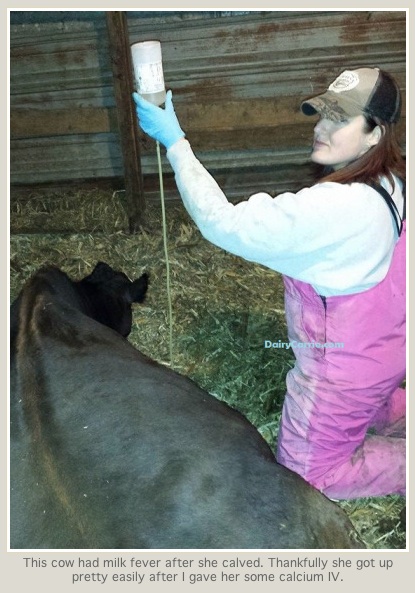
TIP - People’s faces and animals draw people in especially pretty and cute ones.
6. Save your image
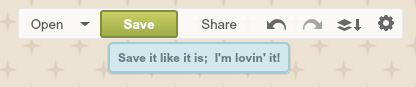 Pretty simple to do. Just click the button at the top. You can pick one of three sizes. Roger, Pierce or Sean. Normally I pick Pierce. You can also select png or jpg. Normally I pick jpg because the file size is smaller. You can see the file size at the bottom.
TIP - You want the smallest size with the best possible resolution. Don’t pick the smallest size automatically if the image is broken up - it won’t be shared then.
7. Share your new image with world
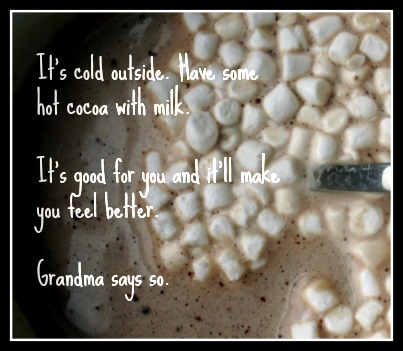 The image is complete. Now I can share it with all my friends and followers so they can share it as well.
If you don't know how to use Facebook, I've got a complete Facebook 101 Tutorial.
Now you know how to use picmonkey, what kind of photos are you going to make?
Here's a video if you if you want to watch how to do it instead of reading the notes below. Note: this is a third party and I have no relationship with his company.
The image is complete. Now I can share it with all my friends and followers so they can share it as well.
If you don't know how to use Facebook, I've got a complete Facebook 101 Tutorial.
Now you know how to use picmonkey, what kind of photos are you going to make?
Here's a video if you if you want to watch how to do it instead of reading the notes below. Note: this is a third party and I have no relationship with his company.
Leave a Reply