I love putting a few lines of text over a picture – and I’m sure I’ll get some haters over that statement. But really it’s one of the most effective way to get people to share your photo and read your information.
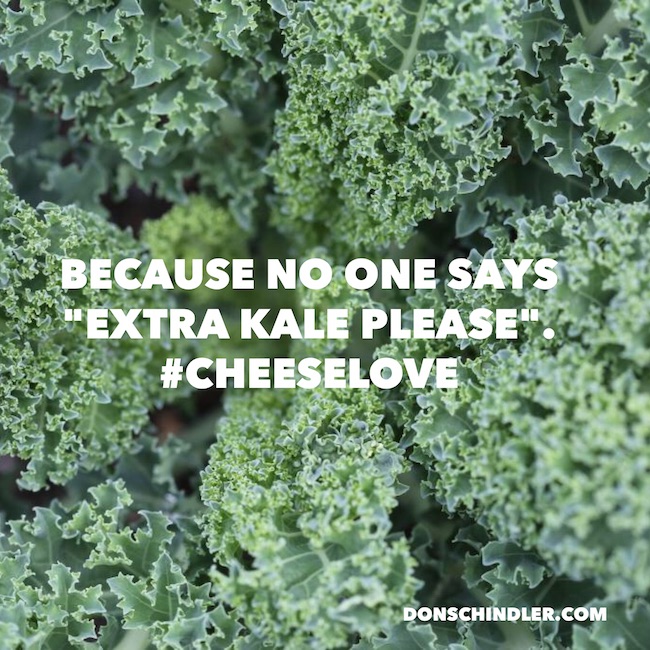
Recently I created this image that got some traction online so I thought I would share with you.
I do apologize to all the PC/Android users out there. So there Word Swag is only on iphone but there are alternatives link Phonto, which is awesome.
So here’s the image I created – I got the image off of a free photo website (here are many more websites to use that don’t require costs and have open use policies.
1. Get the Word Swag app.
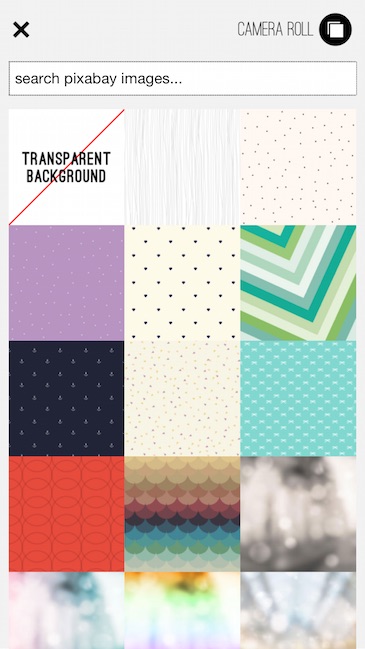
Then open the app and select the image you want. You can pick from their designs or you can grab something from your camera roll.
Helpful hint: if I grab a photo online then I send to my phone via Airdrop or text message it.
2. Find the photo in your Photo app.
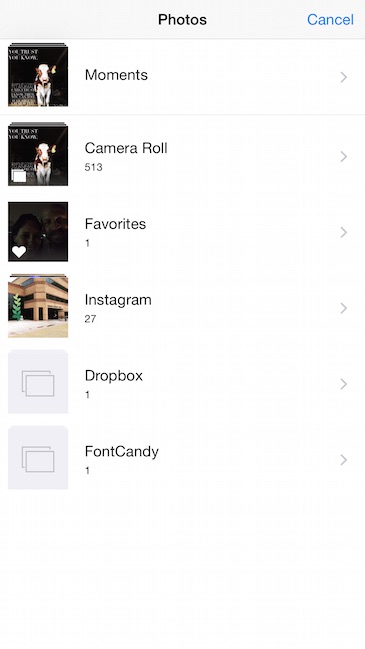
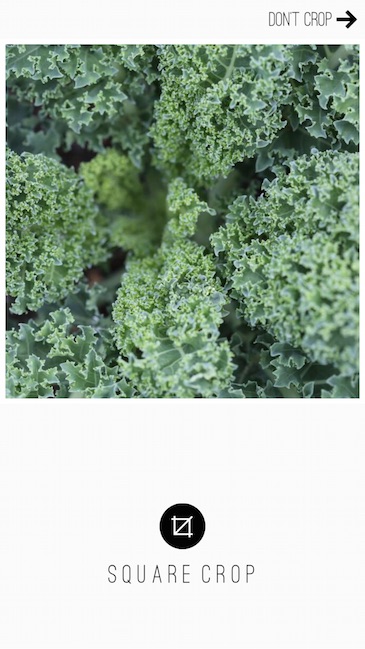
3. When you select the photo, you’ll in photo-editing mode.
You can choose to crop it (for Instagram) or leave it whole.
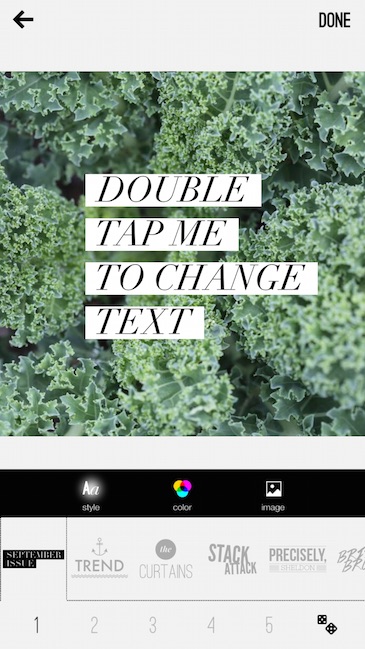
4. You are ready to edit some text.
The font will be the default (you can change later) but what you want to do is to double tap on the text to bring up the keyboard so you can change it out.
Note: You can change fonts on this page as well. The black line of menu items let you adjust font, color and use a filter on the photo.
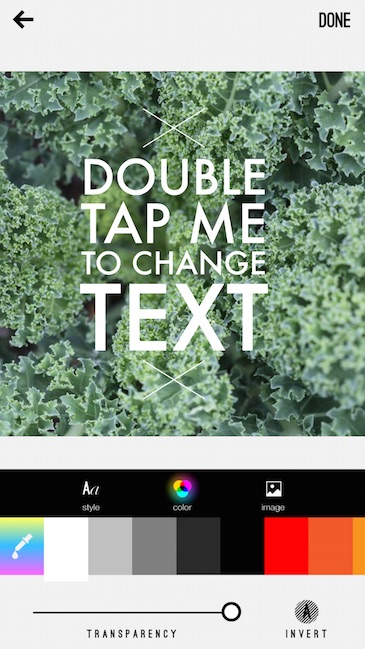
Change the color.
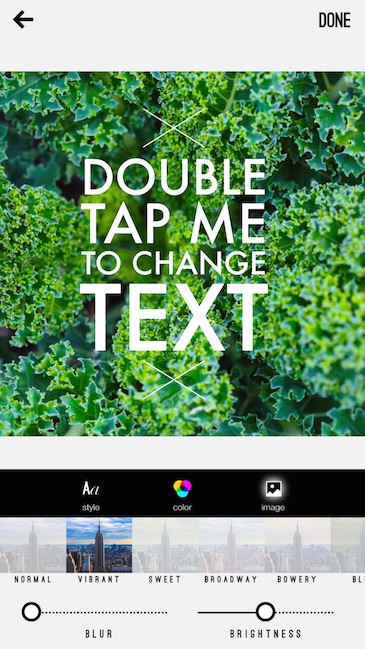
Change the photo filter.
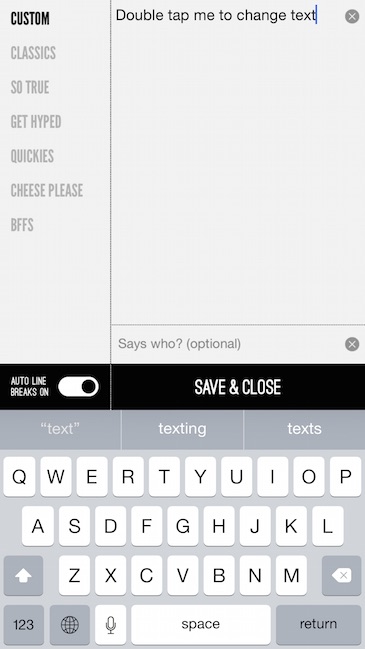
5. Edit the text to say what you want.
I try and keep it billboard style (seven words or less) because people are quickly scrolling through but if you have something important to say – just say it. It might be better on a plain background though vs. the busyness of a photo.
Notice the “Auto Line Breaks On” switch? This will auto-break lines for you to make the font adjust to the text. It makes it easy to look professional with your fonts spaced properly and used to bring out the words you want. If you don’t want a break or you want to do it yourself, you can turn it off.
Save & Close: This will save your text and allow you to adjust on the photo. If you need to go back and re-edit the text, there will be an option to do so.
Don’t you love the “Cheese Please” auto-fill?
You can adjust the text in size by pinching or pushing out your fingers and adjust the rotation by turning them.
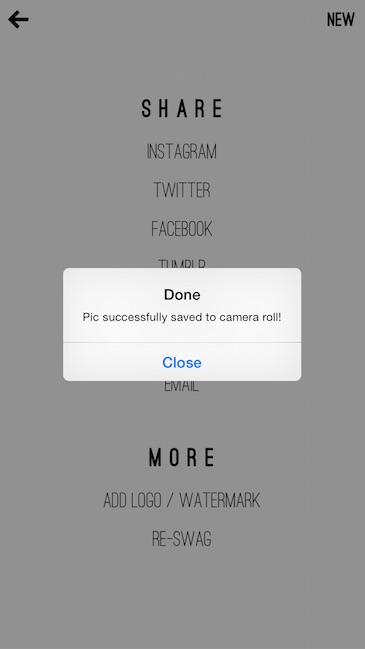
6. Once you are finished with your text, then you can hit Done on the top right. It will save your image to your photo roll.
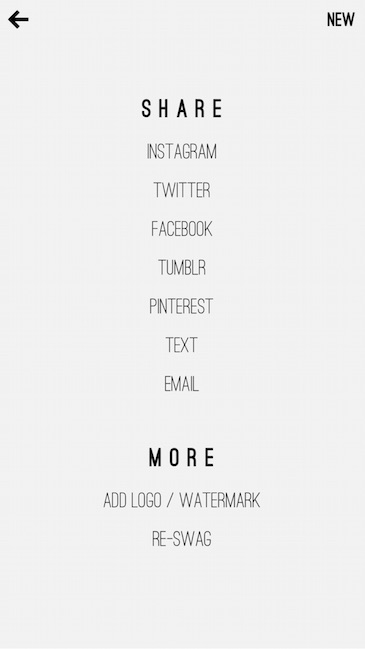
7. You should add your logo or watermark to the photo.
Touch Add Logo/Watermark or if you want to add more text, tough Re-Swag. I recommend that at the least you add your name or business name to the photo to at least make it harder for people to repurpose or steal your photo.
You’re finished!
Now I would suggest that you don’t share directly from the app – it will add #wordswag to your posts and you might not want to waste those characters.
If you are adding to Instagram, just open the Instagram app and pull the photo from your camera roll just like you would any other photo.
If you are adding to Facebook or Twitter, I would add it natively through their app just to make sure it gets shared properly and gets the most visibly by your audience.
If you have any questions, don’t hesitate to reach out at don.schindler at gmail.com.
Leave a Reply